Key Takeaways
- Window insulation reduces heat loss in winter and blocks heat gain in summer.
- You can make use of weatherstripping, caulking, and window films to seal your windows.
- Insulating your windows not only improves comfort but also reduces your energy bill.
Whether you are considering investing in a new HVAC unit or just looking to achieve a perfect home climate, your first priority should be to improve your home insulation. This will not only maintain your desired home temperature but also help prevent energy wastage!
Windows are a great place to get started. You may not realize it, but the cracks and gaps in your windows and bare window panes are the biggest culprits when it comes to disrupting your ideal home climate.
In summer, 76% of direct light falling on your windows becomes heat and interferes with your home’s cooling process. Similarly, in winter, 30% of your home’s heat is lost through windows. This unnecessary heat gain and loss makes your air conditioner work harder, leading to high energy costs.
Window insulation is the best way to seal the cooled air inside during summers and reduce heat loss in winter. It not only helps maintain your ideal temperature settings but also results in reduced energy bills. Moreover, window insulation assists in lowering the burden on your HVAC units in extreme weather conditions which can help make your units last longer!
We have prepared this comprehensive guide for you so you can properly insulate your windows and enjoy a comfortable environment regardless of the weather outside.
Window Insulating Materials
Before you begin insulating your windows, you should know the different kinds of insulating materials to select the right products.
1. Window Weatherstripping for Air Seals
Weatherstripping seals are used to cover gaps and any areas for air leaks around movable objects such as windows and doors.
Window seals helps minimize air drafts that enter through cracks and gaps. During summers, it helps to keep the cooled air inside while keeping the heat outside. While in winters, weatherstripping can prevent hot air from escaping your house.
The gaps between the window sash and window frame are usually filled with sealants to prevent hot or cold air from seeping in.
Weatherstripping comes in many forms including silicone, felt, foam, and vinyl. When choosing to weatherstrip, look for ones that can withstand friction, temperature changes, and general wear and tear.
- Foam stripping is suitable for the top and bottom of the window sash. It is strong and durable, moderately priced but can be difficult to install.
- Tape stripping is also suitable for a window sash, costs low and is very simple to install.
- Vinyl stripping is best for holding moisture and is best for inside the track of a double-hung or sliding window. It is durable, not very expensive, invisible and simple to install.
- Fin seal is best for aluminum sliding windows. It is slightly expensive, can be difficult to install but very effective in keeping the cold out.
- Felt is easy to install, inexpensive but not very efficient. It is best for areas with low friction and is suitable for around a window.
If you apply weatherstripping to movable window parts, you cannot use your windows unless you remove the weatherstripping first. This may be acceptable during harsh winter but not always.
2. Caulking

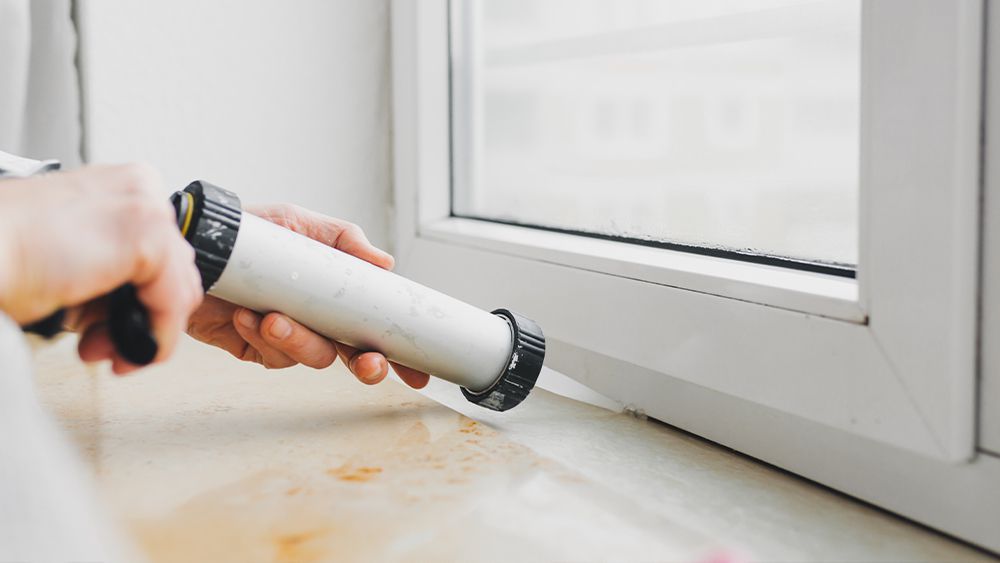
Caulking is used to seal air leaks in windows and doors in your home. You can also apply it on cracks in faucets, water pipes drain, and bathtubs to prevent water damage.
There are three types of caulking for different areas:
- Silicone caulk is used for glass and metal surfaces.
- Latex caulk for cracks in the window.
- Paint caulk is used for sites that you intend to paint later on.
You will usually need half cartilage per window. They also come in cans and tubes for sealing small cracks.
Caulking needs to be reapplied after a year or two. Over time, a window area contracts or expands depending on the weather, and this tends to remove the caulking material. The wear and tear to your window’s exterior and interior caulking requires replacement from time to time to prevent heat gain or heat loss.
Your best choice to make any mini-split, window,
or portable AC smart. Enhance your comfort and savings.

3. Spray Foam Insulation
Spray foam insulation is a type of insulation that expands heavily and then dries out, forming a protective barrier. It is is used to seal gaps to minimize the loss of conditioned air. It can easily fill all the nooks and crannies that are otherwise impossible to insulate.
You cannot use any kind of spray foam when insulating windows. Go for low expansion foam rather than high expansion foam so that you can use the windows. Low expansion foam expands up to 30 times its liquid size. In comparison, high expansion foam can expand as much as 300 times its size, making it impossible to open your windows.
When using spray foam insulation, it’s always good to keep a solvent such as WD-40 nearby in case you accidentally spray elsewhere. With solvents, you can easily clean the excess amount of foam.
4. Draft Stoppers
A draft stopper is a long tube-shaped piece of cloth filled with rice or other grains.
Draft stoppers are used to block the gap around the window sash and window frame. They are a simple solution and are low-priced. You can even make your own draft stoppers or buy some cute ones in animal shapes on Amazon. They can also be used as a soundproofing material.
5. Window Treatments
Window treatments can help provide extra insulation for your windows and include:
- Cellular Shades
They are made of pleated materials containing air pockets in a honeycomb cross-section. These air pockets reduce heat conduction through windows. You can fold the shades when opening windows.
For maximum insulation, you can opt for insulated shades as they have the highest R-value. In the cooling season, they can reduce heat gain by 80% and minimize heat loss by 40% in winter.
- Draperies
They are made of thicker fabric and, unlike curtains, have tie-backs to hold them against the wall. In summers, draperies with white backings can help block a significant amount of heat from your windows.
- Blinds
Blinds are an effective solution in hot weather conditions. When you have them closed completely, they are pretty efficient in reducing solar heat gain, especially the reflective ones. In addition, horizontal slat blinds can block and reflect the light onto the light-colored ceiling. The ceiling then diffuses the light without any heat gain.
In winter, they may not work that well as you cannot control heat loss through the slats of blinds.
6. Window Inserts or Interior Storm Stoppers
Window iserts are made up of plexiglass or acrylic and can easily fit inside the window frames. Interior storm stoppers can increase your window insulation level and are a cheaper alternative than window treatments. Some even come with low emissivity (Low-E) coatings that greatly help improve energy efficiency.
A study by the U.S. Department of Energy (DOE) found that stoppers can lower HVAC energy bills by 22%.
Moreover, they are designed to blend in with the window trims and not clash with your home’s interior aesthetics. However, one downside associated with window inserts is that they tend to discolor or degrade over time.
7. Window Film Insulation Kits

Window film insulation consists of a polyester base which is coated with a scratch-resistant cover. Films are applied to the window and create a dead air pocket between the film and the window. This prevents solar gain in summer and retains heat in winter. According to the International Window Film Association, it also helps in conserving energy in both seasons.
Window insulation kits are an easy and affordable way to protect your home from the outside harsh weather conditions. The kits contain rolls of window films in varying sizes, with the double tape included in most boxes.
You can also choose options such as tints, UV blockers, and thicker films for extra protection. For summer, low-E films are an excellent option to insulate windows to keep the heat out and block harmful UV rays.
Factors to Consider When Buying Window Film Insulation Kit
Before purchasing an insulation kit, factors such as types of materials, insulation thickness, and installation requirements should be considered to get the best out of your kit.
1. Types of Insulation Kits
The three most common types of kits are:
- Plastic kit: It contains a plastic film that you paste on the window glass using double-sided tape.
- Magnetic insulation kit: It consists of magnetic strips that you have to install around the windows. The magnetic film is a little tricky to install and may not create a perfect air barrier.
- Reflective foil kit: This kit has a shiny metal insulation film to block the drafts. Since the film is not transparent, it can also block any incoming light.
2. Insulation Thickness
Thicker insulating films offer more durability and are much easier to apply. If you have pets and kids who are likely to play and scratch the film, a thicker one will be more protected.
3. Air Pockets
When you insulate your windows using kits, you create a pocket between the glass and the insulating film. This is called an airlock. The double-sided tape helps you firmly place the film on the glass pane. You create an airlock that provides a greater insulating effect.
4. Dimension & Coverage
Assess the number of windows in your home that require insulation and pick a kit according to that number. Also, consider your windows’ dimensions so that the kit has enough material to cover your windows adequately.
5. Installation Process
Look for kits that are easy to install. For example, most installations entail putting a double-sided tape around the perimeters and then placing the film on top, which is an easy DIY.
6. Reusability
Before buying the kit, check if it can be reused in another season. Often, thicker insulating kits can be peeled off and stored to be used in another season.
How to Insulate Your Windows?

When insulating the windows, do check the weather. Ideally, it should be sunny for at least 24 hours, as rain or snow can interfere and damage the material. Also, it’s best to start the process early as it leaves time for drying (especially for caulking). You can begin the process in the evening and leave it to dry overnight, but it can get cold and damp at night, so it’s better to avoid that.
Insulating Window Exterior
- The first step is to prepare the window for the insulation process. Use a sharp knife or paint scraper to remove any chipping paint or caulking previously installed. Wipe any residue with a damp cloth and let it air dry for some time.
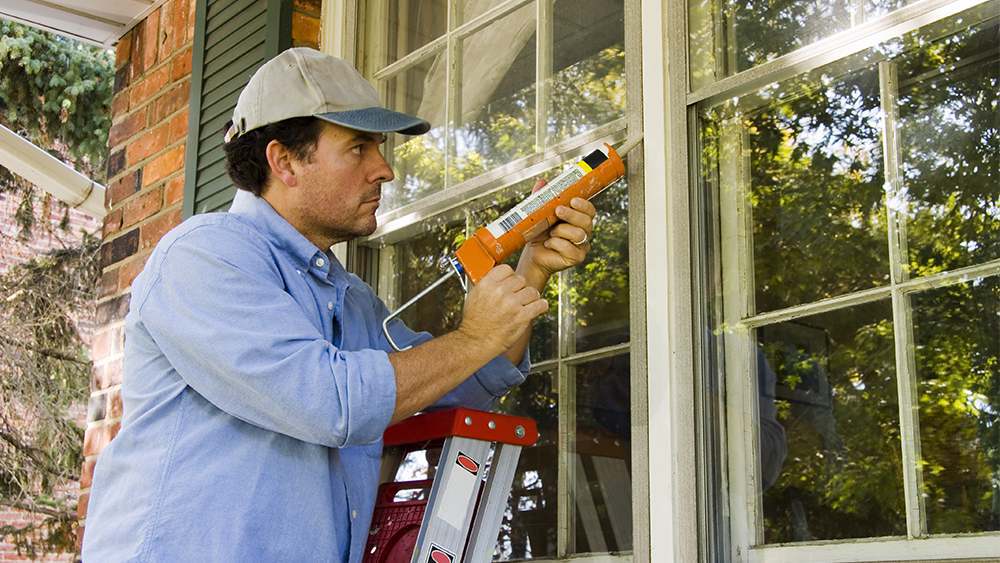
- Take out your caulking gun and fill it with silicone caulk. Hold it at a 45-degree angle and start to fill the cracks in your window frame. Release the trigger before pulling the gun away. It prevents you from applying too much and making a mess.
- If you feel caulking is shrinking, reapply it until a smooth bead is formed.
- Use a putty knife to even out the caulking in cracks and prevent it from spilling out. Leave it to dry for 24 hours.
Insulating Interior Part of Window
- If your windows still have old, worn-out weather stripping or caulking, remove it before installing the new one. You can pull the tape-backed stripping by hand and if the stripping was attached with nails, use a claw hammer to remove the nails. Next, clean the window with a cloth and a window cleaner. Finally, allow it to dry completely.
- Take your caulking gun and repeat the same process as done for the exterior part to fill the gaps.
- After caulking has dried, unfold a roll of weatherstrip and cut it according to the size of your window sash.
- Peel the adhesive off the strip and place it on the window frames.
- You can use a putty knife or any other sharp object to place the stripping firmly, but be careful not to cut it through.
- If you want to double the protection, install film insulation on your window.
- Clean the window thoroughly to remove any dust before the application of window film.
- Take out your film insulation kit. If it is not according to your window size, cut it according to the window measurements.
- Apply the adhesive tape to the whole window and then install the film on top.
- Run a hairdryer over the film to create a perfect airtight seal.
- After that, use spray foam insulation to fill in any remaining cracks and holes in your windows. Insert the nozzle in the visible cracks and then start spraying. Allow it to dry and fully expand.
- Move on to add on window treatments such as draperies or shades.
- Hang the window treatment close to the window and tightly close them on both sides. Tightly fit shades can heat loss by 40% or more, equal to up to 20% of energy savings.
- The last step is to place the draft stopper (homemade or store-bought) horizontally where the sill and the bottom of the window join.
- Ta-da! You have finished the insulation process!
Window Insulation Hacks
If you don’t want an extensive window insulation process for your home, we’ve pretty simple hacks. You must have got a bubble wrap sheet lying around your home. Take the sheet, cut it out as per your window size. Now, spray it with water. This will make it easier to adhere to glass. Finally, tape the corners of the sheet.
This unfortunately won’t be of help if you’re fond of standing by your window to enjoy the outside view. Also, keep in mind that this method is not as effective as using proper insulation materials.
To fill the gaps, cracks and holes around your windows you can also use nail polish. Apply a few coats of nail paint directly over crevices and wait for it to dry. While this is an easy solution, bear in mind that this is not a permanent solution. Nail polish will keep the holes covered for a few months, but if you keep avoiding the issue for longer, the holes/cracks can expand, leading to a bigger problem.
Maintain a Comfortable Home Temperature All Year-Round

You have finished the process of window insulation, but what else can you do to maintain a comfortable home climate throughout the year?
Invest in smart devices!
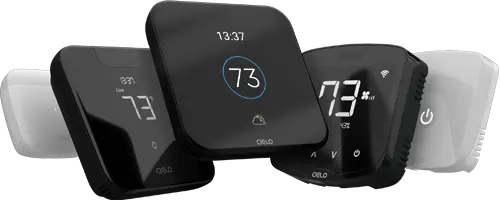
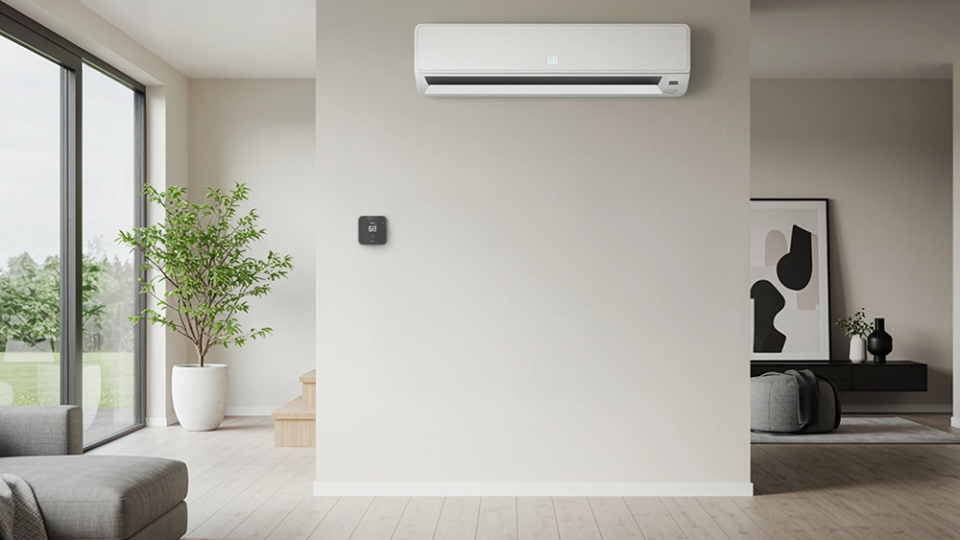
With smart thermostats for central systems or smart thermostats for ductless systems, achieving your desired settings is a breeze!
You can maintain ideal temperature settings, control humidity levels, set weekly schedules, create zones, keep track of your AC air filter cleanliness level, and much more. In addition, you can connect your smartphone with the device and control all your AC settings with just a few taps. These smart devices also help you conserve energy. They send you monthly reports about your energy usage patterns, helping you make the required changes to save on your bills.
Now that you know all about window insulation, gather all your materials and get ready to air-proof your windows. You can choose one insulating material to protect your window or employ a combination of all the available methods; it’s totally up to you. However, keep in mind that a single material may not provide the maximum protection compared to a combination of caulking, weather stripping, and film insulation.


