Key Takeaways
- A properly calibrated thermostat ensures your HVAC system maintains your desired temperature.
- Common signs of incorrect thermostat calibration include high energy bills, temperature swings, and discomfort.
- Check calibration by comparing thermostat readings with your room temperature.
Do you feel like your thermostat is not reaching your set temperature? Or do you find yourself constantly adjusting the temperature? Have you tried all the thermostat troubleshooting tips but can’t solve the issue?
You probably haven’t given it a thought at first, but incorrect thermostat calibration can be a big problem.
Thermostat acts as the brain for your HVAC system and regulates your home temperature, so it’s important to ensure that it is properly calibrated. If the thermostat isn’t adjusted, it won’t be able to read your home temperature correctly, and your HVAC unit will never achieve your desired temperature. This not only leads to an uncomfortable home environment but also increases your energy costs.
Here’s a detailed guide on how to calibrate a thermostat, be it programmable or mechanical.
- Signs of Incorrect Thermostat Calibration
- How to Check Your Thermostat Calibration
- How Often Should You Calibrate Your Thermostat?
- Can Cleaning Help With Thermostat Calibration Loss?
- How to Calibrate a Programmable or Smart Thermostat
- How to Calibrate a Mechanical Thermostat
- When to Call the Pros for Thermostat Calibration?
- Thermostat Calibration – A Quick Overview
Signs of Incorrect Thermostat Calibration
If you find that your home doesn’t feel as comfortable as it used to be, it could be due to your thermostat being off by a few degrees. Common signs of improper calibration include:
1. High Energy Bills
A properly functioning thermostat will keep your home at a comfortable temperature without letting your unit utilize excessive energy.
If you notice a sudden increase in your energy bills without any obvious reason, you might need to adjust your thermostat. Incorrect calibration can cause your heating and cooling system to turn on and off more frequently, which wastes energy and puts unnecessary wear and tear on your unit.
2. Fluctuating Temperature
If the temperature in your home fluctuates wildly, even when the thermostat is set to a specific temperature, it’s probably not calibrated correctly. If certain rooms are too hot or too cold, it could be a sign that you need to recalibrate your thermostat.
Related: A Complete Guide to Finding the Perfect Thermostat Settings for Your Home
3. Decreased Comfort Level
Your home temperature can greatly affect your everyday comfort. For instance, you have set your thermostat to 73F; it will activate cooling if the room temperature rises above that. But if your thermostat has a calibration problem and is reading 5 degrees higher, it will trigger cooling when the temperature exceeds 78F.
Plus, it can also impact your sleep as you wake up due to extreme heat or cold in the middle of the night. Here’s how to achieve the ideal sleeping temperature.
How to Check Your Thermostat Calibration
The process of the calibration checkup involves matching the thermostat’s reading to your room’s temperature. For that, you have to calculate the difference between the two readings.
- First, take a thermometer, wrap it in a paper towel, and place it close to where your thermostat is installed. You can put it on a nearby rack or tape it to the wall.
- Make sure your thermostat is in an ideal location, and no external factors such as direct sunlight or drafts interfere with the readings.
- Wait for 15 minutes and then check the readings on both the thermometer and thermostat. Note down the readings and calculate the difference.
The ideal scenario is that both readings are exactly the same. However, a difference of one to three degrees is acceptable. If the readings exceed this range, your thermostat requires calibration. For instance, if the thermometer is reading 78F and your thermostat is reading 73F, there is a 5-degree difference that needs to be adjusted.
How Often Should You Calibrate Your Thermostat?
It’s best to check your thermostat calibration once a year; however, your thermostat may not need to be adjusted unless there’s a problem. The thermostat may lose calibration due to the accumulation of dust inside, accidental bumping, or power loss.
Can Cleaning Help With Thermostat Calibration Loss?
As one of the main reasons for incorrect calibration is dust and debris build-up, a simple cleaning task can sometimes be enough to solve the calibration issue.
To clean the programmable or mechanical thermostat, remove the front cover. Then, use a soft brush to clean the dust inside. You can also use Q-tips or a soft cloth for cleaning. If you notice corrosion inside, an electrical contact cleaner can be used to remove it.
For smart thermostats, there’s no need for internal cleaning. You can just use a soft cloth to lightly dust off the screen and the surrounding area.
Note: Don’t use a vacuum cleaner to clean the inside of your thermostat since it can be too strong for delicate parts.
How to Calibrate a Programmable or Smart Thermostat
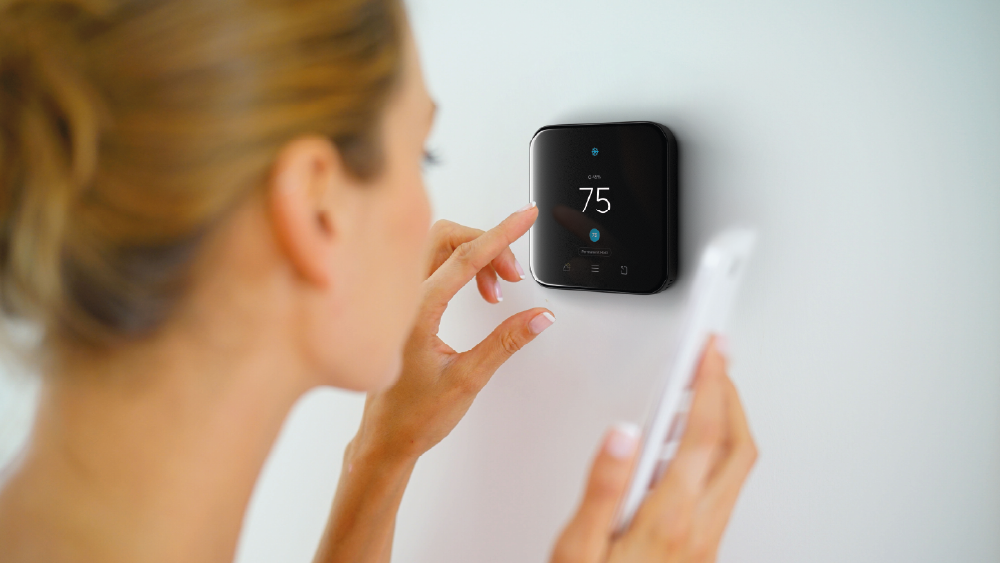
Before calibrating your thermostat, remember that every thermostat has different controls, and it’s best to refer to your manual to find adjustment options.
1. Access the Calibration Mode
Take out your thermostat manual and check how you can enter the calibration mode.
In some models, you have to turn off the thermostat and press the up and down buttons. You will then enter the calibration mode. On other thermostat models, you find this mode in the ‘set review swing value’ in the menu section.
2. Make Adjustments
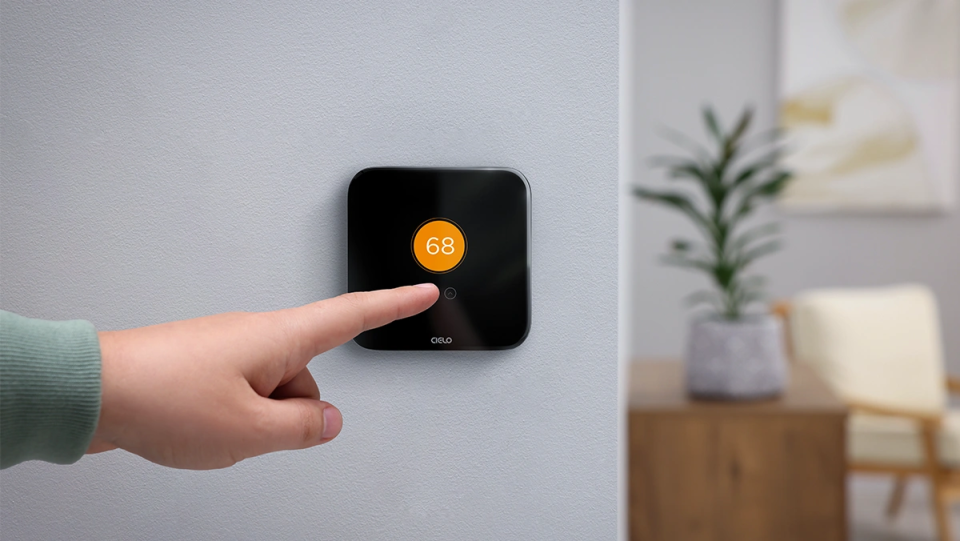
Once you are in calibration settings, press the arrow keys for temperature adjustment. You can increase the number or decrease it depending on the calculations.
If you want to increase it, press the + sign till your selected temperature is displayed on the screen. To lower the temperature, press the – sign.
After adjusting the thermostat, exit the calibration mode using the ‘back’ or ‘exit’ buttons.
3. Recheck Calibration
To check if your calibration worked, take your thermometer and follow the same procedure again. Continue your adjustments if needed till you get the correct value.
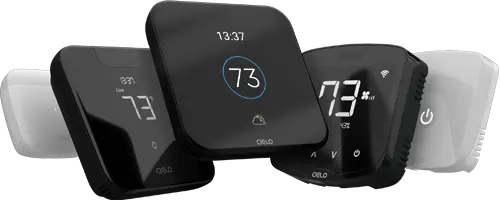
Equip your HVAC system with smart features and achieve the perfect balance between comfort & savings.
Learn more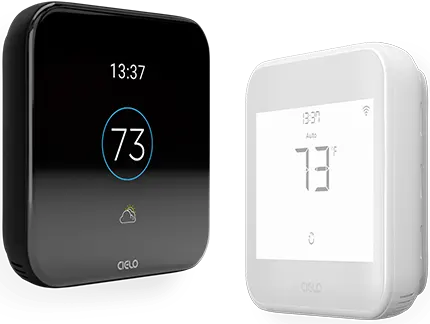
How to Calibrate a Mechanical Thermostat
There are two types of mechanical thermostats – one type comes with a calibration screw, and the other has a mercury switch. Determining the exact type is important as each one has a different calibration process. If you are not sure, refer to your manual for guidance.
Related: Different Types of Thermostats and What Suits You Best
1. Remove Interfering Elements
Remove anything that may influence the thermostat reading, such as electronic equipment. Also, ensure there is no sunlight hitting the thermostat directly.
2. Calibrate Your Mechanical Thermostat
Thermostats With Calibration Screw
Screw-type thermostats can be adjusted by rotating a small screw located on a coil inside.
- To calibrate your thermostat, remove its cover by gently lifting it off.
- You will need to use a wrench to keep the dial straight so you can rotate the screw. The screw is located in the center of a curved piece of thin metal inside the device.
- Turn the screw back and forth with the help of a screwdriver till you feel that the contacts have opened. Wait for a few seconds.
- Then turn the calibration screw again until the contacts have closed. This resets the thermostat calibration.
Thermostats With Mercury Switch
Mercury thermostats have a mercury vial that needs to be leveled to function properly.
- While you won’t be directly working with any live wires, it’s still a good practice to turn off the power at the breaker box.
- Remove the thermostat cover and ensure the sub-base is leveled correctly on the wall. You can use your thermostat leveling brackets or the flat area at the top to place your level.
- Loosen the mounting screws and move around your thermostats till it’s in the correct position.
- Then tighten the mounting screws. Leveling can help adjust most mercury thermostats.
- If you have a furnace that short cycles, move on to locate the heat anticipator to make adjustments. Look for a small disc with calibration numbers. It is usually located in the center of the thermostat. The disc has the words ‘longer’ printed on it. It also has an adjustment lever arm.
- If your furnace is cycling on/off frequently, move the heat anticipator adjustment lever closer to the ‘longer’ setting by one calibration number.
- If the furnace exceeds or never reaches your set temperature, move the adjustment lever away from ‘longer’ by one calibration mark.
3. Recheck the Readings
Let your HVAC unit run for 2 to 3 hours, and then recheck the readings. Then, repeat the steps where you took the thermometer and thermostat readings together and calculated the difference. If the difference is minimal, then great, but if not, continue to adjust the thermostat till you achieve the desired results.
When to Call the Pros for Thermostat Calibration?
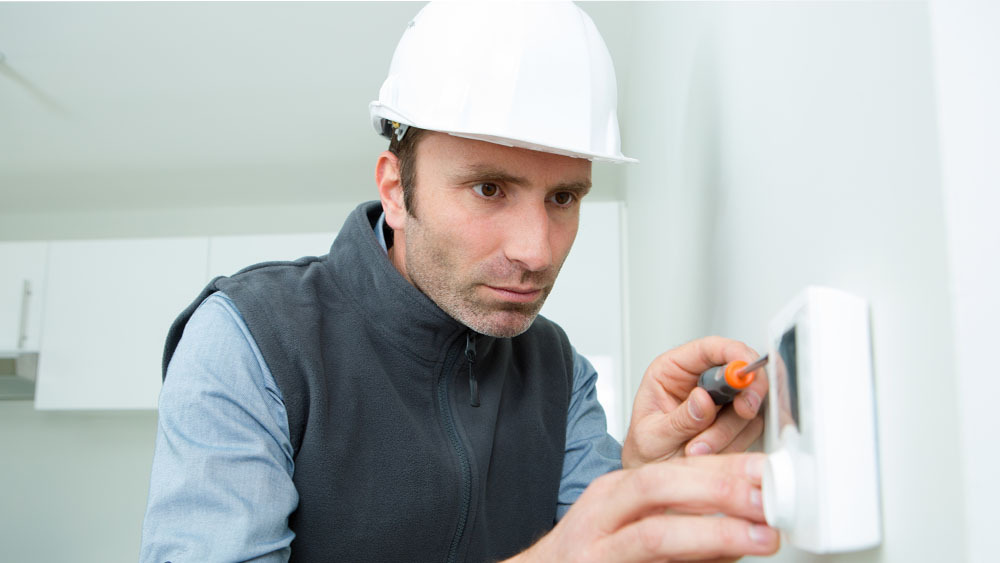
If multiple calibration attempts don’t fix the issue, you may want to consider calling professionals. With a professional service, you won’t have to go through the trial-and-error stage, and your issue will be diagnosed and solved quickly.
You can also choose to replace your thermostat entirely and move to a better model. Advanced models such as smart thermostats are certainly a better option. They offer Wi-Fi connectivity and allow you to control your HVAC unit using your phone. Plus, smart thermostats help to save on energy bills. You can install the smart thermostat on your own; however, if the wiring of your old thermostat doesn’t match with the new one, it’s best to get help from the pros.
Related: Thermostat Wiring Explained in Detail! How To, Color Coding, Types & More
Thermostat Calibration – A Quick Overview
Your thermostat senses your home temperature and helps to maintain your preferred temperature. Calibration is important to help the thermostat read the correct temperature. A thermostat usually loses calibration due to dust and dirt build or sudden power loss. And if your device is not adjusted, it can cause a number of problems, such as increased energy bills and discomfort in your home environment. Fortunately, calibration is a simple process. With slight effort, you can ensure that your thermostat is working correctly and help to improve your home’s energy efficiency.
