Key Takeaways
- Keep the outdoor unit in top shape by clearing the debris around it and cleaning the condenser coils.
- Outdoor AC maintenance boosts energy efficiency and extends its lifespan by preventing dirt buildup on vital components.
Your outdoor air conditioner works tirelessly to keep your home cool during the hottest months, but over time, it can become clogged with dust, dirt, and debris. This buildup can significantly affect its performance and efficiency. Regular AC maintenance is essential to ensure your unit continues to perform at its best. By giving your outdoor AC unit a thorough clean, you not only enhance its effectiveness but also extend its lifespan.
This blog will walk you through a simple step-by-step guide to help you learn how to clean the outdoor AC unit and keep it in optimal condition.
How Does An Outdoor Unit Work?
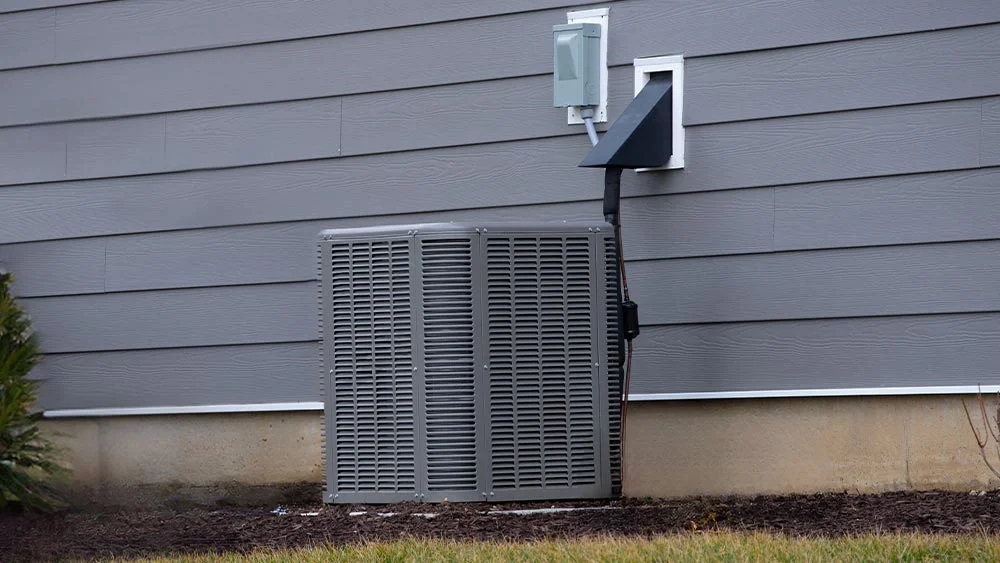
The AC outdoor unit, also known as the condenser, plays a crucial role in the cooling process. It helps your AC remove heat absorbed from inside your home.
In the indoor unit, a fluid called refrigerant picks up heat from your home and changes its state from liquid to gas. The compressor then pressurizes this gas and sends it to the condenser outside. A fan in the outdoor unit blows air over the refrigerant to release the heat into the outside air. As the refrigerant cools down, it turns back into a liquid. This cooled refrigerant goes back to the indoor unit to absorb more heat and humidity from your home, and the cycle continues.
Related: How Does an Air Conditioner Work?
Outdoor AC Maintenance
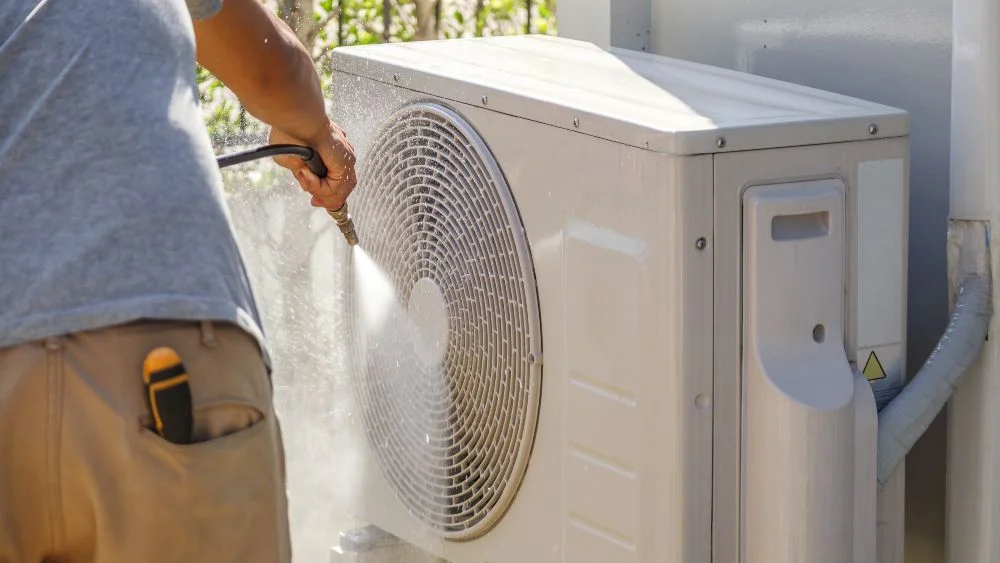
An outdoor unit can become clogged with leaves, twigs, and dirt. Pollen, grass clippings, and even animal nests can also contribute to blockages.
If the outdoor unit gets clogged and air can’t flow properly, the refrigerant has a hard time releasing heat. This means your air conditioner will struggle to cool your home, and you will end up with high electricity bills.
HVAC preventative maintenance helps prevent clogs, uneven cooling, poor performance, and other potential issues.
How Often Should You Clean Your Outdoor AC Unit?
It’s recommended that you deep clean your outdoor air conditioner at least once a year. Spring is the ideal time for this deep clean, as it prepares your unit for the summer heat. Here’s all you need to know about spring HVAC maintenance.
In addition to this deep cleaning, you should also regularly remove leaves and other foliage material, particularly during the fall.
Cleaning Your Outdoor AC Unit
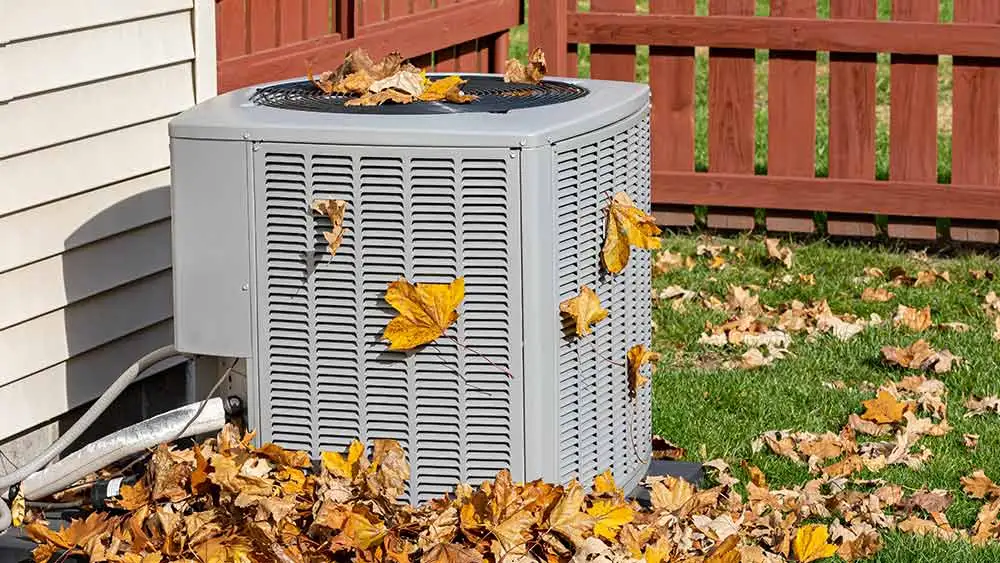
You can easily clean your outdoor unit yourself in a few simple steps. Just make sure to follow the basic guidelines. However, if you’re unsure of how to clean the outdoor AC unit or handle the electric components, it’s best to consult a professional to avoid damaging the unit.
Things You Will Need
Here’s a list of equipment you’ll need to clean your outdoor AC unit:
- Garden hose with a nozzle
- A soft brush (e.g., a fin comb or soft-bristle brush)
- Screwdriver or nut driver (to remove the AC unit’s panels)
- Vacuum cleaner with a soft brush attachment
- Gloves (to protect your hands)
- Rags or towels (for drying and wiping down surfaces)
- Air conditioner coil cleaner (follow your air conditioner manufacturer’s recommendations when selecting a cleaning agent)
1. Turn Off the Air Conditioning Unit
You can do this by turning the thermostat off. Also, shut down power to the outdoor condenser by either unplugging it or switching off the breaker that controls it.
This step is crucial for your safety, as it prevents any electrical hazards while cleaning the unit.
Equip your HVAC system with smart features and achieve the perfect balance between comfort & savings.
Learn more
2. Clear Away Debris Surrounding the Unit
Before you start working on the air conditioner, it’s important to clear the area around it. Remove any leaves, twigs, or other debris that might have accumulated near the unit. If you have any plants, bushes, or landscaping elements close to the air conditioner, make sure to trim them back. Keeping at least a one-foot clearance around the unit ensures proper airflow and prevents obstructions that could affect its efficiency.
If you feel like your outdoor unit clashes with your garden aesthetics, here’s how to conceal the AC unit outside.
3. Remove the Top Cover of the Condenser Unit
To access the internal AC components, you will need to remove the top cover. Refer to your unit’s manufacturer for instructions on how to remove this part safely.
Typically, this involves unscrewing the top panel with a screwdriver and carefully lifting it off. Make sure you set the screws aside in a safe place so they don’t get lost.
4. Clean Inside the Unit
The condenser can accumulate a significant amount of debris over time. Put on gloves and manually remove any large leaves or clumps of grass from inside the unit. After that, use a vacuum to clean out any leftover dirt and dust.
To clean the coils inside, use a soft-bristled brush and gently brush away any dirt that’s settled there. Be sure to brush in an up-and-down motion rather than side to side to avoid damaging the delicate fins on the coils. A vacuum with a brush attachment can also be an effective tool for this task.
5. Apply AC Coil Cleaner to the Coils
To deeply clean the condenser coils, apply a foaming AC coil cleaner. Spray the cleaner directly onto the coils, ensuring they are fully coated with the foam. Allow the cleaner to sit and penetrate the dirt for the recommended time, usually around 5 to 10 minutes. This will break down the grime and make it easier to wash away.
If you’re unsure about cleaning the coils yourself, you can hire a professional. However, be prepared to spend around $250 for an AC coil cleaning. The final cost will vary depending on the type of unit, cleaning method, labor, and other factors.
Tip: Always wear gloves during this process to protect your skin from the chemicals in the cleaner.
6. Rinse the Unit With a Garden Hose
After the coil cleaner has had time to work, spray the unit with a garden hose to wash the cleaner. Use moderate water pressure to avoid damaging the coils or other sensitive components.
Spraying the AC unit in a single direction might only effectively remove some of the dirt. To ensure a thorough cleaning, begin by angling the water stream downward, moving back and forth along the sides of the unit. Then, adjust the angle to target dirt hidden in the crevices of the paneling, making sure to reach all areas.
Note: Never use a power washer, as the high-pressure water can damage the unit’s components. Also, avoid spraying the electrical parts of the unit directly.
7. Reassemble the Unit and Restore the Power
Once the unit has been thoroughly rinsed and all cleaning agents have been removed, carefully replace the top cover of the condenser unit. Ensure that it is securely fastened back into place with the screws you set aside earlier.
Allow the unit to air dry completely before restoring power. Once dry, plug the unit back in or switch on the breaker, and then turn the air conditioner back on at the thermostat.
Your outdoor AC unit is now clean and ready to operate efficiently.
Important AC Cleaning Tips
- Keep nearby bushes and trees well-trimmed to prevent them from dropping leaves or branches onto the unit. This minimizes the risk of debris entering the unit and ensures better performance.
- Clean the filters every 2 weeks and replace them every 3 months. Also, focus on regular coil cleaning; they should be cleaned every 2 months.
- In late fall and winter, cover your air conditioner when it’s not being used. The cover should be breathable to prevent moisture buildup, which could harm the electrical components.
- Have a professional check the system once a year for any leaks or potential issues.
Benefits of Maintaining Your Condenser
If you are interested in learning how to clean your outdoor AC unit, let’s start by understanding all the benefits it offers:
-
Cost Saving
A clean air conditioner reduces the need for frequent repairs, saving you money. Plus, when the system runs smoothly, it doesn’t need to work as hard to cool your space.
-
Enhanced Energy Efficiency
When contaminants build up inside the air conditioning unit, it has to work harder to maintain a comfortable indoor temperature. Cleaning ensures optimal performance without the need for extra electricity, keeping your home cool without increasing energy usage.
-
Extended Lifespan
Keeping the unit free of debris and dirt can help prevent wear and tear on its components. This can extend its operational lifespan and reduce the likelihood of premature failure.
Related: How Long Do Air Conditioners Last – AC Lifespan Guide
-
Fewer Repairs
Regular cleaning can prevent small issues from becoming major problems. This proactive approach can reduce the frequency and cost of repairs.
-
Improved Indoor Air Quality
A well-maintained AC unit helps maintain better air quality by efficiently filtering and cooling the air, reducing dust, allergens, and other pollutants.
In Conclusion
By regularly removing debris, cleaning the coils, and checking for any signs of wear and tear, you help your outdoor AC unit operate more efficiently. This not only enhances its cooling effectiveness but can also lead to lower energy bills and fewer repair needs. A little attention and effort in keeping your AC unit clean ensures your system remains a dependable ally throughout the hot months, delivering the cooling relief you need.
