Key Takeaways
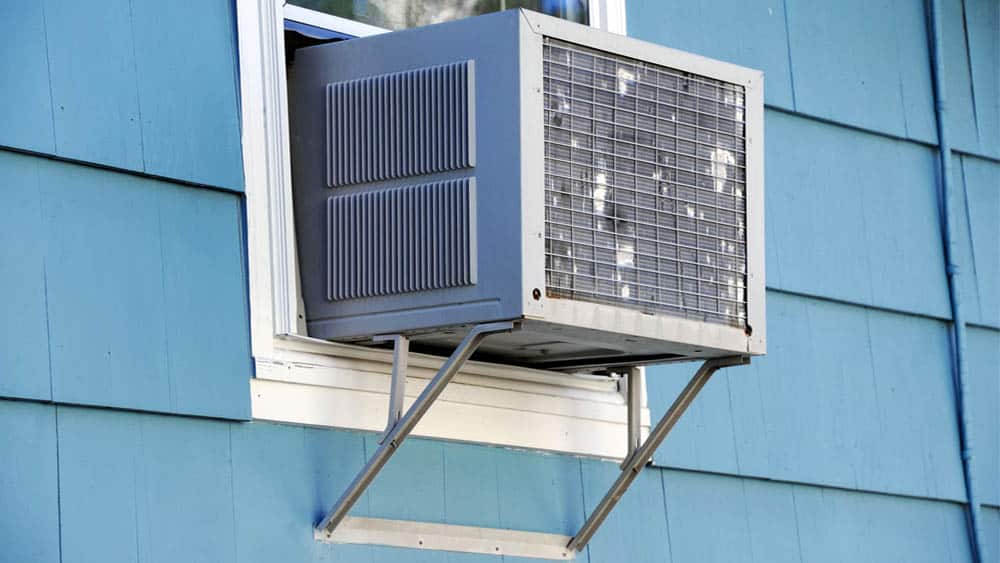
- Ensure proper installation of the AC unit in the window with side panels and L-brackets.
- Make sure there aren’t any gaps to prevent hot air from entering your home.
- Ensure the unit is level for proper drainage, especially in humid climates.
Installing a window air conditioner is a practical and efficient way to cool a room without the need for central air conditioning. Whether you’re looking to beat the summer heat or maintain a comfortable environment year-round, a window AC unit offers an affordable and straightforward solution.
This blog will walk you through the step-by-step process on how to install a window AC unit so that you can do it correctly and it runs efficiently while keeping your home climate comfortable all summer long.
Things to Consider Before Installing a Window AC Unit
There are many factors to consider before purchasing a window AC, such as the size of your room, the type of window you have, its orientation, the energy efficiency rating of the AC, and how much insulation the unit will require.
1. Size of Your Room
Finding the right AC size is important as a large unit will struggle to remove moisture from your room, while a small unit won’t cool properly on hot summer days.
To find the perfect size of window AC for your room, you first have to consider the cooling capacity measured in British Thermal Units (BTUs). Window air conditioners mostly come in 5,000 to 25,000 BTUs. You require 20 BTU of cooling for every square footage of the area.
Here’s a rough estimate you can refer to:
|
Room Size |
BTU |
|
100-300 square feet |
5000-6500 BTU |
|
250-500 square feet |
7000-8500 BTU |
|
500-900 square feet |
9800-12500 BTU |
2. Determine the Type of Your Window
Understanding your window type is essential, as window air conditioners are not designed to fit every window type.
If you have a sliding window or a casement that opens outwards, you can’t easily install a window air conditioner as it will require additional hardware. A double-hung window with an upper and lower pane that slides up and down is the most suitable for window air conditioners.
Related: Best Vertical Window Air Conditioners for Convenient Cooling
3. Energy Efficiency Rating of Your Window AC
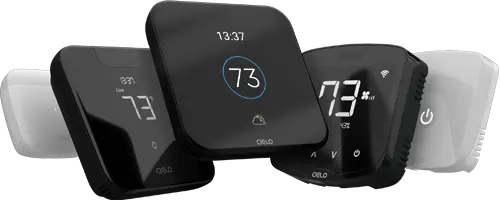
New models of window air conditioners with smart capabilities can be a valuable upgrade as they offer enhanced efficiency and convenience through a variety of features. While switching to a smart AC might seem like a great investment, the downside is the hefty price tag. However, there’s an alternative: you can get all these smart features—and even more—by investing in a window AC thermostat. This can transform your existing unit into a smart one in minutes.
You can set location-based controls, monitor usage patterns, and manage your AC from anywhere in the world via your smartphone. Additionally, you can schedule the AC to run or shut off at specific times. These smart window AC thermostats not only adjust settings automatically according to your preferences but also help reduce energy consumption, potentially saving up to 25% on your electricity bills.
Your best choice to make any mini-split, window,
or portable AC smart. Enhance your comfort and savings.

4. Energy Efficiency Rating of Your Window AC
When buying a window air conditioner, it’s important to consider the Energy Efficiency Ratio (EER) because it directly impacts both your energy consumption and utility bills. EER measures the cooling output of the unit relative to its energy input, so a higher EER means the AC is more efficient at cooling your space while using less electricity. This not only lowers your energy costs but also reduces your environmental footprint.
5. Amount of Insulation
Before purchasing the window unit, measure your window dimensions to ensure the unit will fit properly. The AC should have at least 2 inches of room on either side of the window housing to extend its baffles.
For the new unit, you can match the window dimensions with the specifications on the AC box. If the unit was previously owned, you can measure the air conditioner itself and then make the comparison.
6. Window Orientation
If you’re installing a window AC in a south- or west-facing window, it’s important to consider that these windows receive direct sunlight for most of the day. This added exposure can make it harder for the AC to cool your space effectively, potentially reducing the unit’s efficiency.
To avoid this issue, consider placing your window AC in an east- or north-facing window, where it’s less likely to be exposed to harsh sunlight. Additionally, think about the direction of rain and cover your AC in a way that it can be protected from both rain and direct sunlight, ensuring it operates efficiently year-round.
7. Amount of Insulation
Insulation is essential to trap cooled or heated air in your room and for protection against strong winds and rain when installing a window AC. The amount of insulation required depends on the number of gaps. These can be identified by holding a candle and moving it around the AC; if the flame flickers, there is a gap. Insulation is also required in the spaces between the glass panes.
Your window AC may come with insulating foam; if not, you can easily get flexible foam for insulation. Fill the gap between the upper and lower sash with the foam insulation. For more information on window insulation, read our guide.
Preparing For Your Window Air Conditioner Installation
Follow the guidelines below to prepare for a seamless window AC installation process:
1. Clean & Inspect Your Window
Thoroughly inspect the window to ensure it’s in good condition. Look for any signs of rot or damage around the window frame. Prioritize making any necessary repairs before installation so that you don’t discover issues after the AC unit is already in place.
If your home is quite old, it may not be suitable for window AC installation. The structure of the windows may not be able to hold the heavy load of the AC unit, so do take that into account.
2. Remove Obstructions Around the Window
If you have decorative items or plants on your window sill, it’s time to remove them. You will want to clear the area as much as possible so there are no obstructions when installing a window AC unit.
A storm window frame or screen might interfere with the overhanging part of the A/C on the outside. Either remove the storm window and frame or fasten a spacer block to the windowsill to lift the A/C case away from the obstruction.
3. Clean the Window Air Conditioner
If you are installing an old unit, start by thoroughly cleaning it. Ensure all air filters, coils, and any other internal components are dust-free. Use compressed air to remove debris both inside and outside of the unit.
Check this guide about window AC cleaning for detailed instructions.
4. Check the Load on the Circuit
Before installing your window AC unit, it’s crucial to assess the electrical load on the circuit you plan to use. Overloading a circuit can lead to tripped breakers or blown fuses, even when using everyday appliances like a hairdryer. To prevent this, it’s advisable to use a separate circuit that will solely power your window AC should be added.
How to Install a Window AC Unit?

After ensuring that you have checked all the points mentioned above, it’s time for window AC installation!
First, remove your air conditioner from the box and gather all the necessary tools and equipment. It’s crucial to have an extra pair of hands, so be sure to call in an assistant to help with the installation.
Materials Required:
- Screwdriver
- Screws
- Drill
- L-Brackets
- Measuring Tape
- Scissors
- Foam weatherstrip
Step 1: Mark the Center on the Window
Pull the bottom sash of your window as far as it can go. Next, measure the dimensions of the window and mark the center. Marking the center will ensure that the side panels reach both sides of your window evenly. Otherwise, the installed unit will appear uneven and unsymmetrical.
Step 2: Apply the Foam Weatherstrip
Before installing your window air conditioner, it’s important to apply foam weatherstripping around the window frame. This step helps ensure a tight seal between the air conditioner and the window.
Step 3: Attach the Side Panel to the Window Air Conditioner
Slide the side panels onto your air conditioner and fasten them using the provided screws. Ensure that you have tightened the screws and there are not any gaps to prevent warm air and pollutants from entering your home.
Step 4: Place Your AC in the Window
Open your window and raise the lower window sash. With the assistance of your helper, pick up your unit and insert it safely, centering it on the windowsill. Then, pull down the lower sash till it perfectly sits on the AC.
Step 5: Secure the Sash & Install L-Brackets
To prevent the window sash from being lifted accidentally, you need to secure it. Insert two screws through the upper AC case into the window sash. To prevent the wood from splitting up, drill pilot holes for screws going into your window frames.
Next, install L-brackets outdoors to hold the air conditioner in place. Use screws to attach the L-bracket to the upper window sash. Your AC is now fully secured.
Note: You cannot use L-brackets with all types of windows. If your window is a vinyl window, you can use wood strips to place between the sash and the top of the window frame.
Step 6: Fasten the Side Panels
Next, find the two accordion-shaped side panels in your window AC box. Attach them to each side of the air conditioner. Ensure that you have tightened the screws and that there are no gaps to prevent warm air and pollutants from entering your home.
Note: In some cases, you may need to install the side panels before installing the AC in the window. You will have to refer to your manual to check this.
Step 7: Fasten the Side Panels
In this step, you need to extend the side panels to the window sash track. After that, secure them in place with screws.
Never leave the window AC unit without securing it, as it can fall and cause damage. Also, if it’s not securely fit, burglars can easily make their way inside.
Step 8: Fill In the Gaps
Almost there! Use foam insulation to fill the gaps between the upper and lower window sash. If your AC comes with a foam strip, cut it and use it to fill the space; otherwise, you can buy it separately.
Voila! You have installed your window air conditioner. Now plug it in to enjoy a relaxing environment. Pair it with smart thermostats to enhance your air conditioning system with smart features. Set schedules, location and temperature-based triggers from your phone, and more.
Dos & Don’ts of Window Air Conditioner Installation
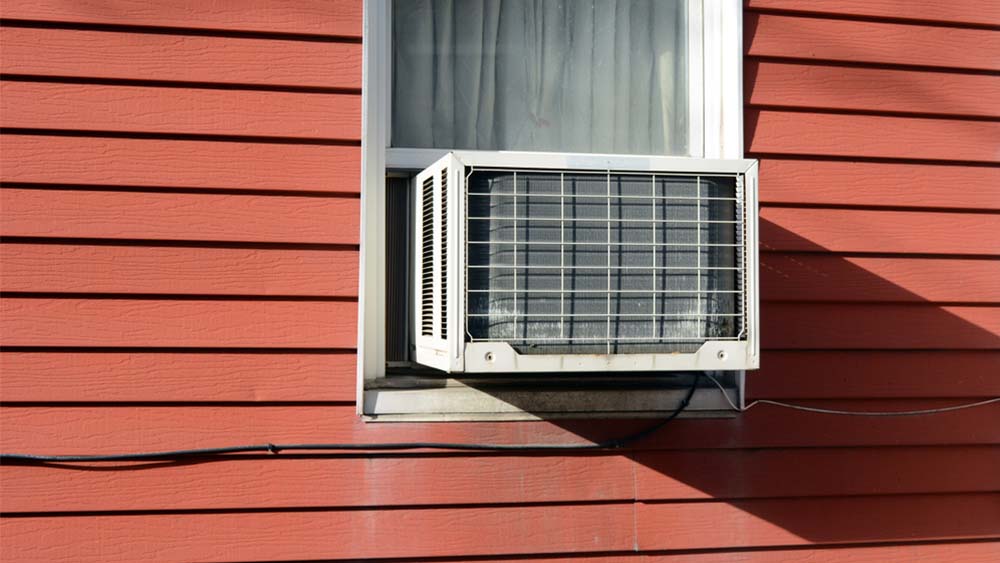
In addition to the step-by-step guide on how to install a window AC unit, there are some tips and must-dos that you should follow to get the job done quickly and securely.
Do Attach Panels and Rails for Support
To properly adjust your window unit in its place and prevent its fallout, use screws to attach the top and bottom mounting rails. After that, attach the side panels by sliding them along the grooves on either side of the unit. Make sure that panels fill in the gaps between the window unit and the sides of the window frame.
Do Take Into Account the Tilt
Window air conditioners need a tilt so that moisture accumulates in the drain pan rather than falling down inside your room. The tilt should be just half an inch, but read the installation guide for the exact number. Some newer models don’t require the tilt, as the drip pan is already installed at a slight angle.
Related: Where Are the Drain Holes on Your Window Air Conditioner? Let’s Locate & Unclog Them
Do Provide Sufficient Area for Airflow
Make sure that no shrubs, furniture, or walls are within 20 inches of the AC. If your window AC is suffocated, it won’t work effectively.
Don’t Try to Install it On Your Own
A window unit is between 50-100 pounds, and installing it on your own can put your safety at risk. Even if you can carry it, securing it in its place with screws can be a challenge. So, it would be best to install it with a helper.
Don’t Install in a Damaged Window
Avoid installing the unit in a window with rot or structural issues, as this can compromise the installation and efficiency.
Don’t Overload the Circuit
Don’t connect the air conditioner to a circuit already used by other high-power devices to avoid overloading and potential electrical issues.
Don’t Skip the Manual
Don’t ignore the user manual; failing to follow specific instructions can lead to improper installation and performance issues.
Related: Window AC Repair Guide: Tackle Common Problems Like a Pro
Removal for Storage
If you decide to remove your air conditioner for storage during the winter season, the process is quite simple. Just reverse the installation guidelines, and be sure to take the help of a friend or a family member. Check this guide on how to properly store your air conditioner.
When removing the window unit, remember not to remove the two L-shaped brackets until you have removed the AC, and it is no longer likely to fall down.
The Takeaway
Installing a window air conditioner may seem intimidating, but with proper guidance and safety precautions, it can be a breeze. From the initial planning to actually placing the AC in the window and setting it up, this guide will help you at every step of the installation process. Remember to ask for an extra set of hands when working with window ACs to ensure you get the job done properly.
Now that you know all about how to install a window AC unit, gather all your tools and start working. You will be enjoying an ideal room climate in no time!


