Key Takeaways
- Weatherization is the process of protecting your house against harsh weather elements.
- Sealing gaps around windows, doors, and ducts prevents drafts, improving energy efficiency and comfort.
- Cleaning gutters and checking the roof for damage protects against water damage and ice dams.
The cold weather can bring with it a host of problems that may prove destructive if they are not managed properly in time. Heavy piles of snow can cause a roof to collapse. Water pipes can freeze and burst, flooding your home. Freezing temperatures and heat loss make it tough to maintain perfect thermostat settings, not to mention the added stress of high bills.
You can avoid all these problems if you stay ahead and start weatherizing your home before the onset of winter. That way, you’ll be able to counter any threats from extreme weather conditions and have your home well-prepared before the temperature drops.
This blog will discuss why home weatherization is important and some effective ways you can use to protect your home against the harsher climate.
- 15 Ways to Weatherize Your Home
- 1. Weatherize Your Home's Exterior
- 2. Automate Your Home Climate
- 3. Weatherize Your Windows
- 4. Weatherize Your Doors
- 5. Prevent Ice Dams
- 6. Insulate Your Attic
- 7. Pipes Freeze Protection
- 8. Tune-Up Your HVAC Unit
- 9. Inspect Your Ductwork
- 10. Check Your Fireplace
- 11. Check Your Furnace
- 12. Weatherize Your Gutters
- 13. Moisture Control
- 14. Reverse the Direction of Ceiling Fans
- 15. Increase Your Heating Options
- Take Away
Why Do You Need to Weatherize Your Home?
Home weatherization means preparing or protecting your house against harsh weather conditions. John Wilson, Owner of Wilson Plumbing & Heating, says, “Weatherization makes your home more energy-efficient and comfortable by sealing air leaks and improving insulation. This keeps your home warm in winter and cool in summer, saving money on energy bills.” It not only helps your HVAC unit work effectively but also improves indoor air quality by keeping allergens out.
Weatherization upgrades can help you save an average of $283 or more per year. They also strengthen your home’s durability and add to its value, as well as the added advantage of saving your bills. There are even local energy-efficiency programs that give you incentives for making home weatherization upgrades, like installing an approved smart thermostat or replacing an old heating system with a more energy-efficient heat pump.
15 Ways to Weatherize Your Home
If you’re wondering how to weatherize your home, here are 15 effective ways to mitigate any kind of winter damage.
1. Weatherize Your Home’s Exterior
Snow, heavy winds, and rain can make it difficult for your home to withstand the harsh winter weather. However, you can take the following measures to improve the exterior structure and ensure optimal protection.
- Roof inspection: Inspect your roof and check for broken or missing shingles. You don’t have to replace the broken shingles; just repairing the damage will do the job. Start by applying a thick layer of roofing sealant under the crack. Next, press the shingle down and apply a second layer. Then, spread it evenly with a putty knife. In case of a missing shingle, though, you will have to replace the whole thing.
- Roof raking: Install roof rakes to prevent snow from piling up on your roof.
- Trim branches: If you notice any overhanging branches on your roof, trim them to prevent damage to shingles and gutters. Heavy snow can bring the extending branches down and pose a safety risk to your home and any passersby. Thoroughly clean all the leaves and dirt accumulated on the roof.
- Clean gutters and downspouts: This will prevent water from backing up and damaging the roof. Melting snow will only drain properly if downspouts are clean. It will also prevent mold growth inside the pipes.
- Check handrails: Inspect for loose-fitting rails and clean any standing water to prevent people from slipping on driveways.
- Inspect crawl spaces and basement area: Clean any moisture and debris build-up in the crawl spaces. Standing water can move through the cracks in the floor and into your house. Install a vapor barrier to prevent moisture accumulation and mold growth.
2. Automate Your Home Climate
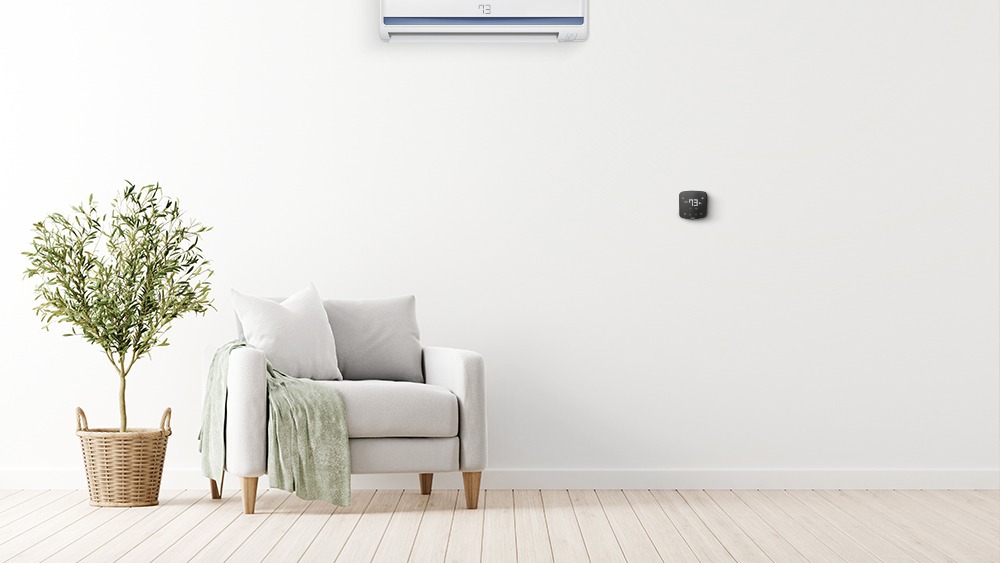
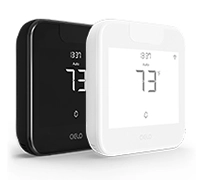
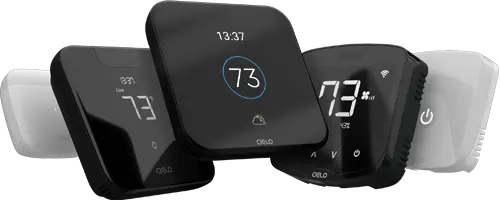
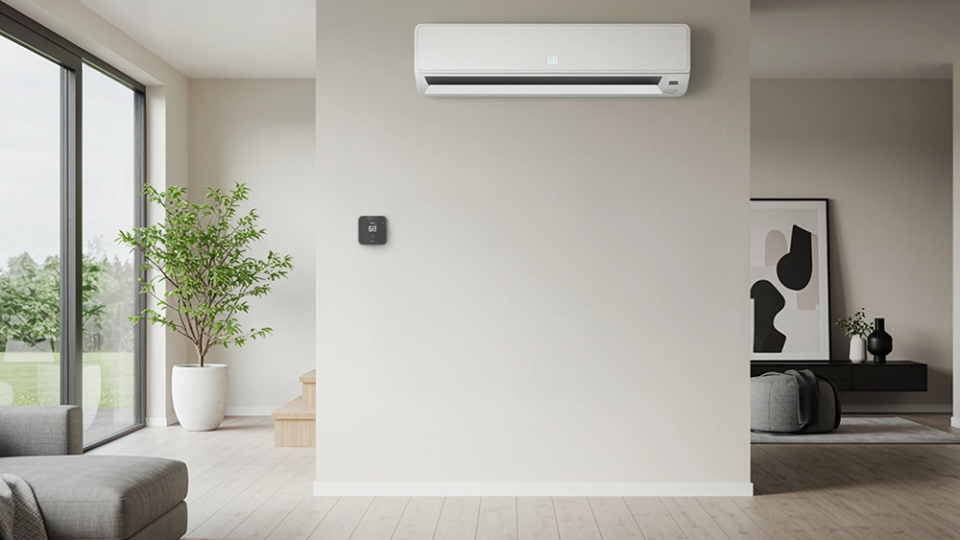
Going smart is one of the most efficient ways to weatherize your home. Smart thermostats for central HVAC or smart mini-split thermostats for ductless systems give you complete control of your home climate and help amplify your energy savings.
Your best choice to make any mini-split, window,
or portable AC smart. Enhance your comfort and savings.
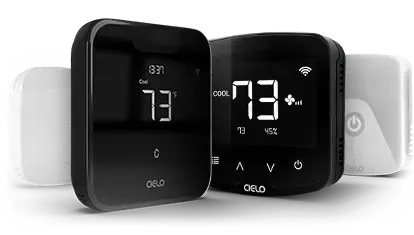
These smart devices can keep your home comfortable at all times. Just add in your preferred temperature and humidity levels, and they will take care of the rest.
- Scheduling: You can set daily or weekly heating schedules in advance based on your routine, which can help you save on your bills.
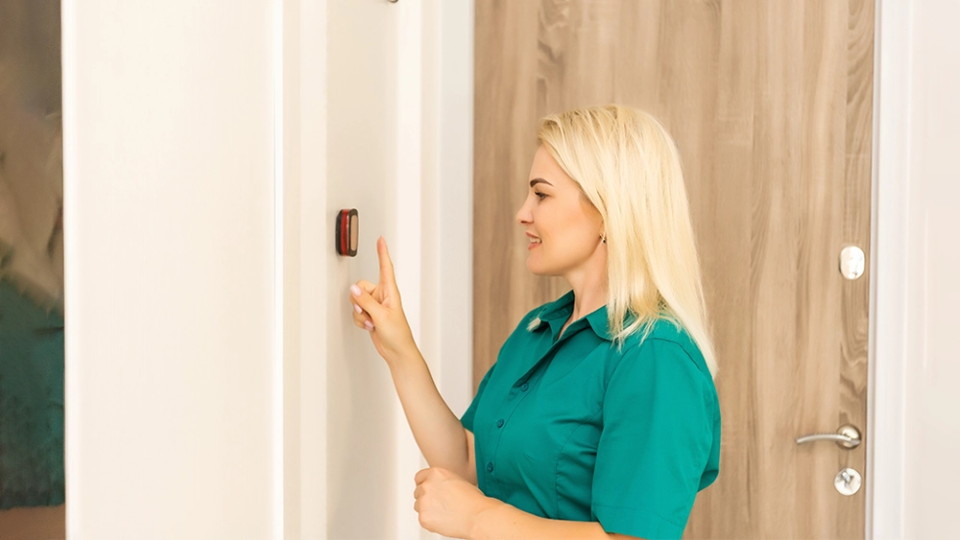
- Control your unit from anywhere: Smart devices do not let you compromise on your comfort. Do you hate coming home to a freezing home in winter? You can use your smartphone to set your HVAC to turn on an hour before your arrival. The feeling of entering a toasty house when it’s snowing outside is unexplainable!
- Energy savings: These smart climate control devices keep you aware of your energy usage patterns, helping you make the necessary changes to reduce your bills. Cielo Breez mini-split thermostats, for instance, help you save up to 25% on your electricity costs.
- HVAC zoning: Your smart thermostats can help you divide your house into different sections and create zones. Each person in your house can enjoy their preferred temperature. This can be an ideal solution to end the thermostat war in your home.
3. Weatherize Your Windows
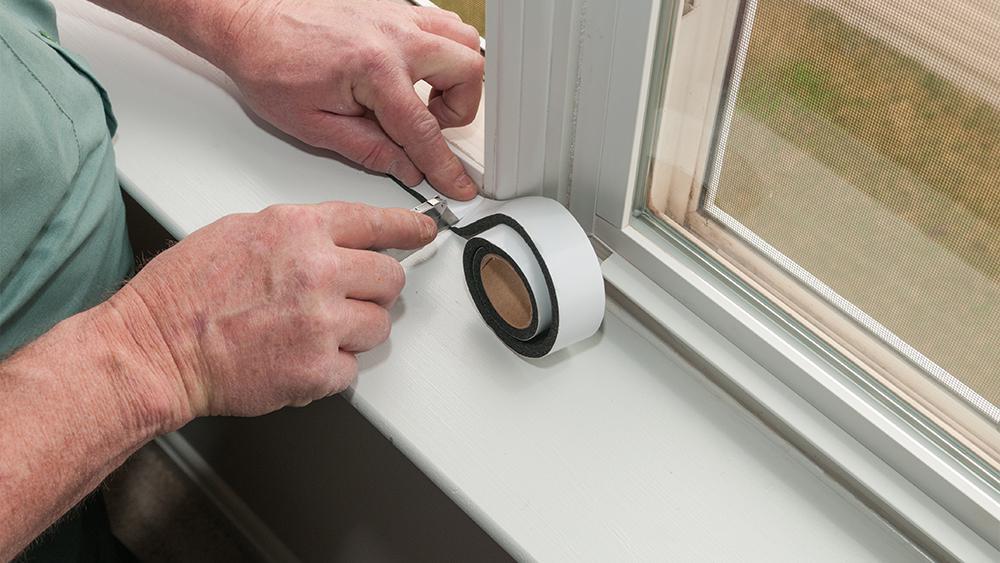
The air leaks from cracks and gaps in your windows disrupt the perfect warm climate of your heated home. Up to 30% of your home’s heating is lost through windows, making it harder for your HVAC unit to achieve your set temperature.
To prepare your windows for the upcoming winter months, aim for window insulation.
- Caulking: Apply caulking to cover holes and cracks around doors and non-movable window parts such as window frames.
- Weatherstripping: Weatherstrip the doors and movable parts of the windows to prevent air leaks. Apply the strip between the window frame and sash to ensure it does not interfere with the window’s operation.
- Install film insulation: To double the protection in colder months, you can install film insulation on your window glass. The film increases your window’s ability to retain heat.
- Install draft stoppers: Place draft stoppers at the bottom of a window frame to prevent cool air from seeping in. Then, shut the window tightly.
- Hang shades or draperies: Finish the process by hanging insulated shades or draperies to reduce heat loss during cold winter nights. During the daytime, roll them up to fully enjoy the sunlight.
4. Weatherize Your Doors
You may not realize it, but air escaping from under the doors and joints significantly affects your home temperature. When hot air is constantly escaping, your heating system will have a hard time maintaining your preferred temperature.
Weatherizing the doors will seal all the air leaks and can help you enjoy a cozy winter indoors.
- Caulk the doors: Inspect the doors for cracks and gaps and use caulking to fill them up.
- Install weatherstripping: Weatherstrip the door jambs and make sure it fits tightly around the corners. The weatherstripping should be thick but not interfere with the door’s operation.
- Install draft guards: Place them at the bottom of the door to prevent air exchange. A thick towel rolled to fit the bottom can also work, but only for doors that are not in use.
5. Prevent Ice Dams
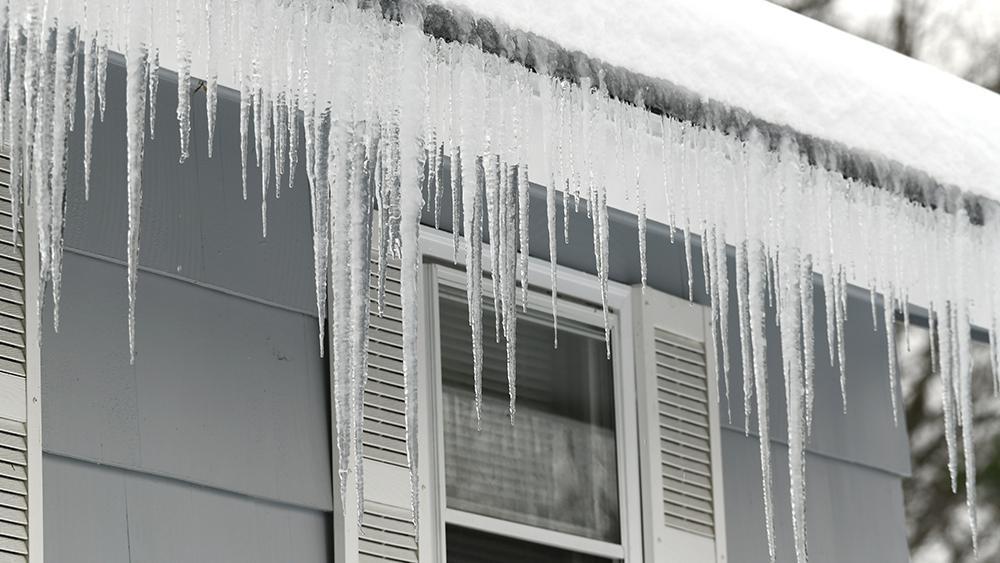
Icicles look fun, but definitely not on your roof. Freezing temperatures often lead to the formation of ice dams on the roof. They are formed after the snow on your roof melts, moves down, and refreezes near the edges, creating something similar to icicles.
Warm air from the attic causes the ice to melt, but when it reaches the edge, there is no warm air, so it refreezes.
Ice dams are bad news as they damage the roof shingles and gutter system and cause water to back up in your house. Moreover, they cause the ceiling to sag, which can be dangerous. Mold and mildew can also easily harbor in your home.
You can weatherize your home by taking measures to prevent ice dam formation:
- Install de-icing cables: These are electric heating wires that prevent ice from refreezing on the edges. They are secured with clips and can stay on your roof for many years.
- Incorporate attic insulation: This stops the heat transfer, which causes the thaw/freeze cycle.
- Clean the gutters: Prevent ice dams by removing the collected debris from the gutters.
- Ventilate your attic: Install intake and exhaust vents. Intake vents are installed on the underside of the roof, while exhaust vents are installed on top. Attic ventilation helps warm air exit through exhaust vents.
6. Insulate Your Attic
If you have little to no attic insulation, it can interfere with your HVAC unit’s working.
You may wonder about the connection between attic insulation and heating equipment. Since hot air rises and cold air sinks, in winter, all the heat from your heating unit drifts to the uninsulated attic. As a result, you struggle to achieve a perfect home environment. As discussed above, a hot attic leads to the formation of ice dams, causing damage to the roof. A properly insulated attic will stop hot air in the rooms below from flowing into the attic, preventing heat loss.
Insulation is rated by its R-value, with higher numbers indicating better insulating performance. Even if your attic has some insulation, it might not be adequate. When weatherizing your home, assess the amount of insulation in your attic and then make changes accordingly.
- Insulate with plywood/ wallboard: Close off large penetrations in the attic with plywood or wallboard.
- Insulate the attic floor and roof: Use unfaced insulation (one without any plastic covering) for the attic floor. Faced insulation has a foil layer on one side and can be easily installed on the underside of the roof.
- Use caulking: Seal all the joints and holes around pipes, ducts, and wires with a caulk.
7. Pipes Freeze Protection
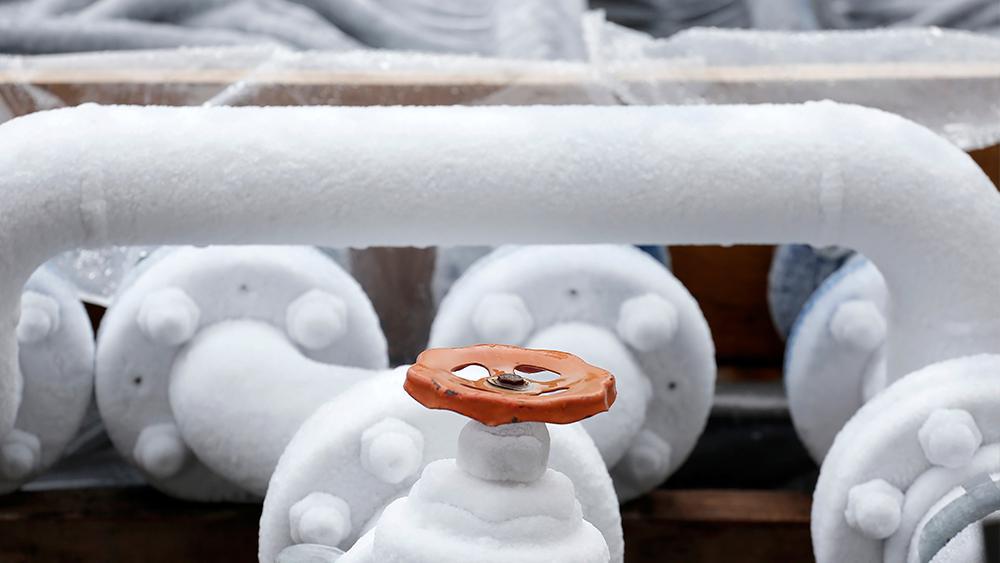
The pipes in your home are prone to freezing in frigid temperatures. This can cause significant damage, such as pipes bursting and flooding your home. Moreover, frozen pipes prevent free-flowing water from coming from the taps, causing great inconvenience.
But fret not; there are numerous ways to protect your pipes from freezing:
- Use freeze protection mode: Using this mode on your mini-split heat pump is one of the best ways to protect your pipes. In this mode, your heat pump runs at a low 46 F, consuming low power. The heat pump continuously blows out hot air and prevents the temperature from falling below freezing point.
- Seal: Close all gaps and cracks in your pipes and seal the windows and doors around them to prevent cold air from seeping in.
- Insulate: Examine all the pipes and insulate them, especially in unheated areas such as your garage, attic, bathrooms, and basement.
- Use heat tape: You can wrap heat tape around pipes to prevent freezing. It is actually an electric cable that radiates heat when connected to a power socket.
- Keeping the faucets slightly open: Flowing water does not freeze, so you can keep the taps open at night. To prevent water wastage, put a bowl underneath the facet.
8. Tune-Up Your HVAC Unit
Your HVAC system will be your comfort partner in the cold season. You would want it to work in top-notch condition and avoid any breakdowns. So, when winterizing your home, don’t forget your HVAC unit.
You need to look out for signs that your tune-up is due and make sure your unit is operating correctly.
- Check major components: Call a professional and have the major components of your AC checked. Check to see if the compressor, blower fan motor and evaporator coils are working fine.
- Check the refrigerant levels: Check for refrigerant leakage, have a professional fix the cracks, and refill the refrigerant.
- Clean air filters: Get a thorough look at your filters. Clogged filters mean your unit will have to work harder, putting stress on it and wasting energy. Depending on their condition, clean or replace your filters regularly. During peak seasons, you should clean them every two weeks and replace them every three months.
9. Inspect Your Ductwork
Your ductwork distributes warm air from your HVAC unit to the whole house. Therefore, you should inspect the ductwork before the start of the heating season to ensure the unit’s overall health.
- Professional tune-up: If your ductwork is not insulated correctly, it can hinder the functioning of your heating unit. You can seal minor leaks yourself, but contact a professional for a proper checkup.
- Look for visible holes and cracks: If you don’t see anything, they may be quite small. In this case, turn on your HVAC at full speed to check for airflow through holes. Most leaks occur where the two ducts are joined. Place your hand near these joints to feel the air coming out.
- Seal the leaks: You can use aluminum foil tape to seal the leaks in your ducts, but that would be a temporary solution. For a permanent fix, use mastic air duct sealant. It is a sticky substance that is applied to cracks and hardens after drying.
10. Check Your Fireplace
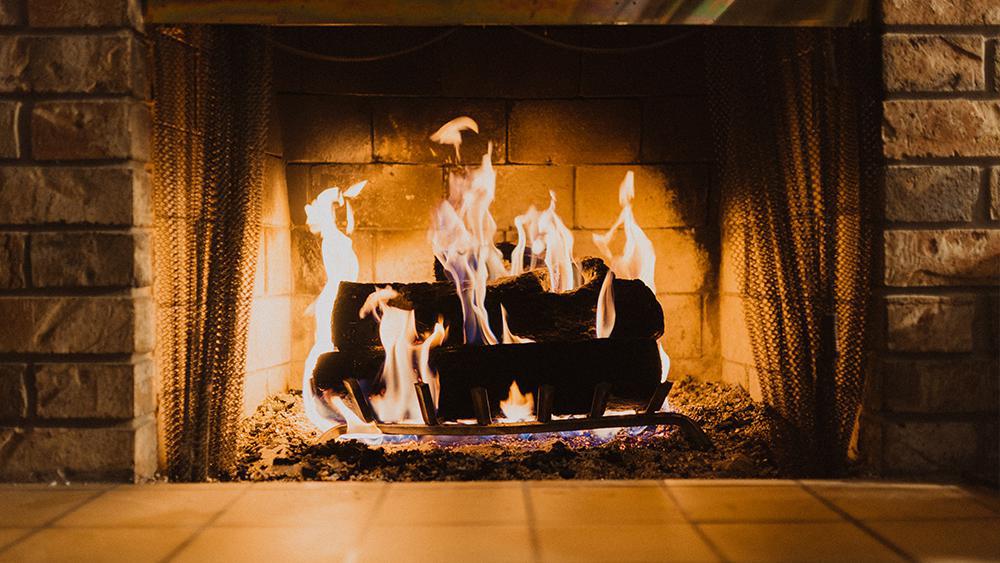
Prepping your heating system is one of the important ways you can weatherize your home.
- Clean the fireplace: When you don’t use an indoor fireplace for months, dust and other particles can fill the surrounding areas, which need to be cleaned before the winter season sets in.
- Inspect the chimney for damage: Ice dams on the roof can cause Cracks, loose bricks, and broken mortar. These issues can interfere with chimney function, so be sure to fix them before the fall season starts.
- Check the chimney cap: If it’s broken, replace it to keep leaves, rain, and debris out of your chimney.
- Seal air leaks: A wood fireplace can be a big source of air leaks. You can install tight-fitting glass to prevent air from escaping or entering. When you’re not using the fireplace, keep the damper closed. Also, seal all the air leaks around the chimney.
- Inspect dampers: Fireplaces have dampers that close off the flue to limit heat loss when they’re not in use. Inspect the damper for damage and clean it thoroughly.
- Clean the blower: If your fireplace has a blower, clean it before the cold weather; otherwise, it will blow all the accumulated dust in your home.
- Inspect the gasket: Make sure it’s intact. Fireplace gaskets help keep the gas and smoke out of your home.
- Test your smoke alarm: Replace the batteries in your smoke alarm and run tests to ensure their proper functioning.
11. Check Your Furnace
Dirt and debris can build up in your furnace, causing inefficiency, increased energy bills, and even a safety risk.
Related: 20 Common Furnace Problems and Their Quick Fixes
Cracks in the furnace can allow deadly poisonous gas to enter your home. In addition, a dirty furnace won’t provide you with a warm, comfortable environment. The furnace filter trapped with lint, pollen, and debris obstructs airflow and makes your furnace run longer to heat the house.
- Inspect air leaks: Start by inspecting for leaks and insulating them.
- Clean the filters: Clean them before the start of the season and remember to change them every three months.
- Professional tune-up: Call a professional for a thorough furnace maintenance check-up before the start of the season. They will check all the major components and also test for carbon monoxide leakage.
12. Weatherize Your Gutters
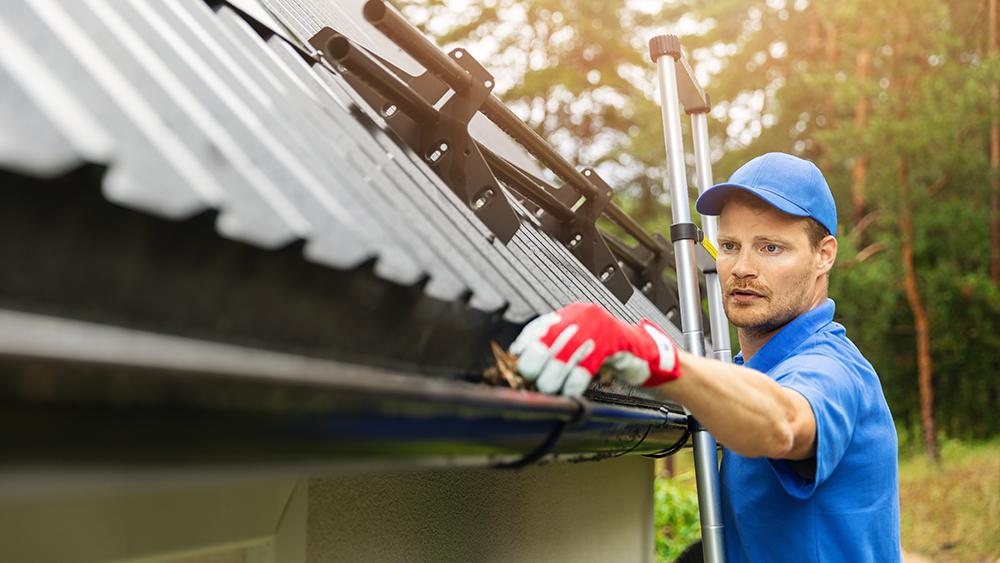
An essential way to weatherize your home is to clean the gutters. Leaves and debris can clog the gutters and cause water to leak from the roof, even leading to the formation of ice dams.
To clean the gutters, follow these steps:
- Use a tarp: Before starting the clean-up process, spread the tarp underneath to collect all the grime and protect your landscape.
- Scrub the gutters: After that, take a plastic spatula and scrub the gutters to remove all the gunk.
- Use a plumbing snake: Pull out wet leaves collected in the gutter using a plumbing snake.
- Flush the gutter: Then, use a garden hose to flush the gutter and clean the remaining dirt.
- Use a gutter guard: Install a gutter guard to keep out leaves, roof sand grit, and other debris.
13. Moisture Control
In addition to weatherizing doors and windows, controlling the moisture in your home is also essential in preventing cold air from seeping in and reducing mold and bacteria growth.
- Use exhaust fans: Install exhaust fans in highly humid areas such as the kitchen and bathrooms to remove the collected moisture.
- Install storm doors and windows: When the weather outside is cold, excess moisture condenses on window glass and can seep in. Storm doors and windows minimize the humidity on these surfaces by keeping cold, moist air out of your home.
- Install vapor barrier: Humid air from crawl spaces can enter your home and lead to condensation and mold growth on cool surfaces. Install a meshed vapor barrier on the dirt floor of the crawl space to limit moisture evaporation from the soil.
Here is a detailed guide to achieving ideal home humidity levels in winter.
14. Reverse the Direction of Ceiling Fans
Ceiling fans are homeowners’ favorite because of their ability to lower costs. The good news is that you can continue to use them in fall and winter. However, you cannot keep using them in the same counterclockwise direction.
- Change fan direction clockwise: To circulate hot air, rotate the fans clockwise. Most fans come with a switch that allows you to reverse their direction. When in a clockwise direction, the fan forces the hot air trapped on the ceiling down into the room.
Related: Do Ceiling Fans Cool a Room? Here’s The Best Ceiling Fan Direction for Cooling
15. Increase Your Heating Options
In winter, heavy snow and strong winds can cause power outages. To counter this situation, you should have a backup option of a heating system that uses natural gas, propane, or wood.
- Use a gas or wood fireplace: Clean it before the cooling season sets in so you have this option ready when needed.
- Store a supply of firewood: It can come in handy when the power is out. When storing wood outdoors, keep it in a dry, shaded area and off the ground to protect it from pests.
- Use a generator: You can also use a generator to run electric heating devices during a power outage.
Take Away
There are many effective ways to weatherize your home. Affordable methods, such as caulking doors and windows or sealing air leaks around the house, are guaranteed to provide greater comfort and relief to your wallet. So, gather your supplies and start working while you still have plenty of time before the frosty season sets in!

